
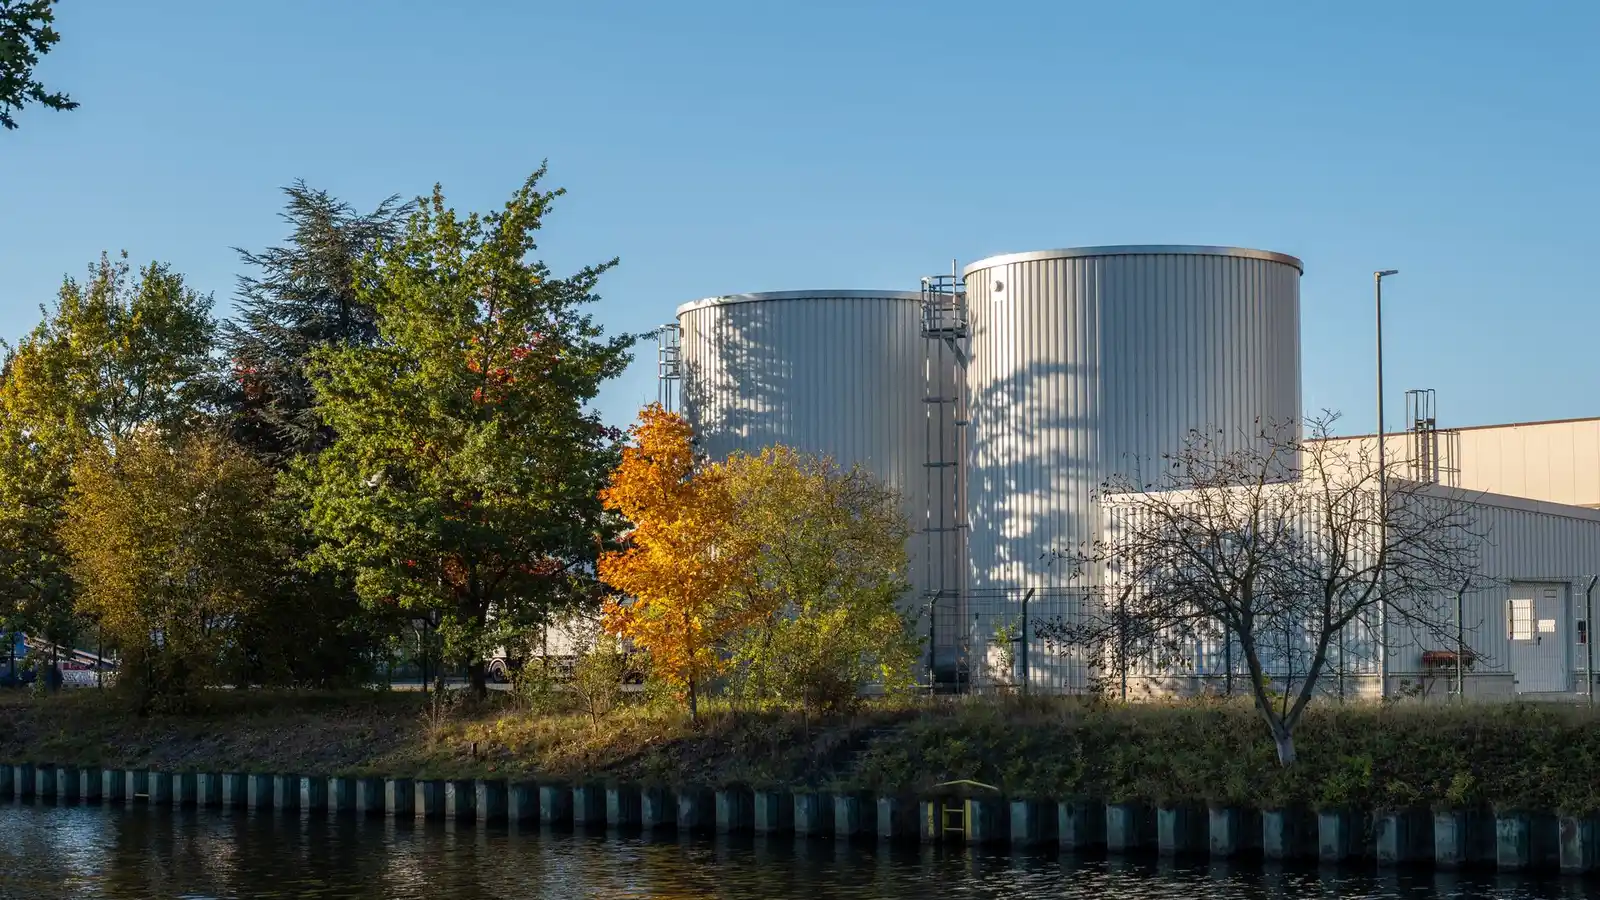
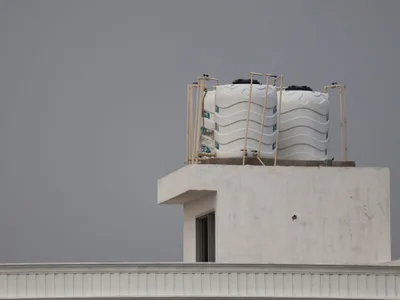
Water tank waterproofing for homes and villas
Rooftop water tanks in most homes develop small cracks and porous patches over time. This service seals the interior surfaces with a food-safe waterproofing coat, stopping leaks and keeping the household water supply clean.
- Interior surfaces fully sealed
- Food-safe coating materials
- Cracks and gaps filled first
- Inspected before handover
Why tank waterproofing protects your water supply
A rooftop tank is constantly exposed to heat and expansion cycles that open fine cracks in the concrete or fibreglass. Water seeping through those cracks carries minerals and can allow algae to take hold. Coating the interior with a waterproofing layer bonds to the structure and stops water finding its way out, so the lining stays intact even through seasonal temperature swings.
-
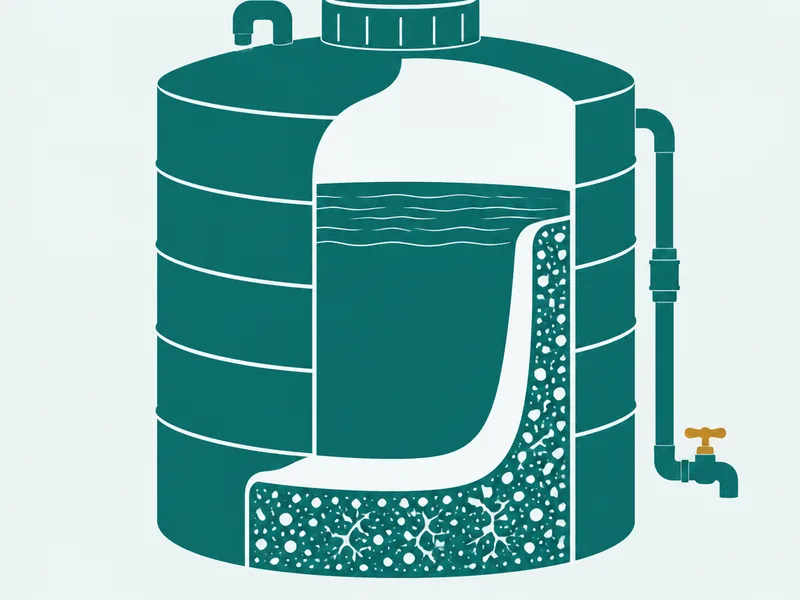
Seal before a leak develops
Hairline cracks appear before any visible drip. Coating the interior while the tank is still watertight is easier and less disruptive than repairing a tank that has already started to fail.
-
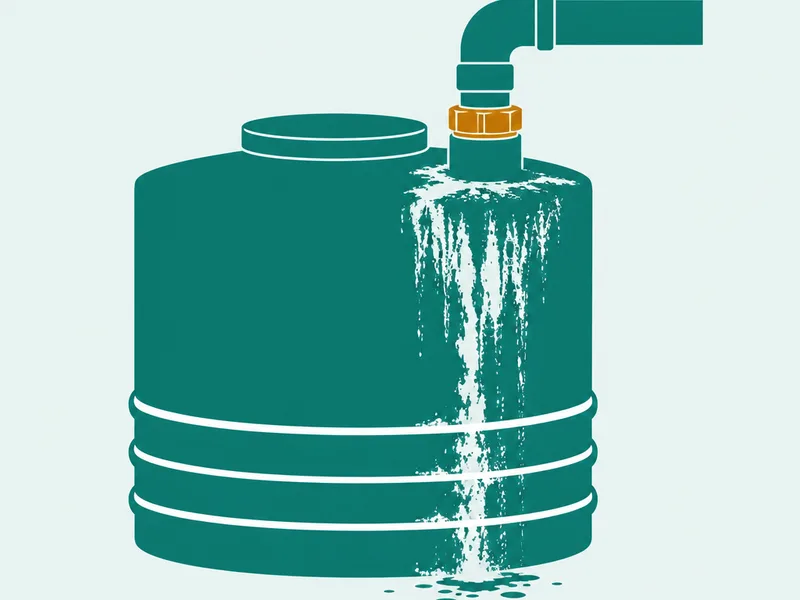
Repair an existing slow drip
If the tank is already losing water, the crack-sealing step addresses the gap directly before the coating goes on. The two stages together fix the immediate problem and prevent it returning.
-
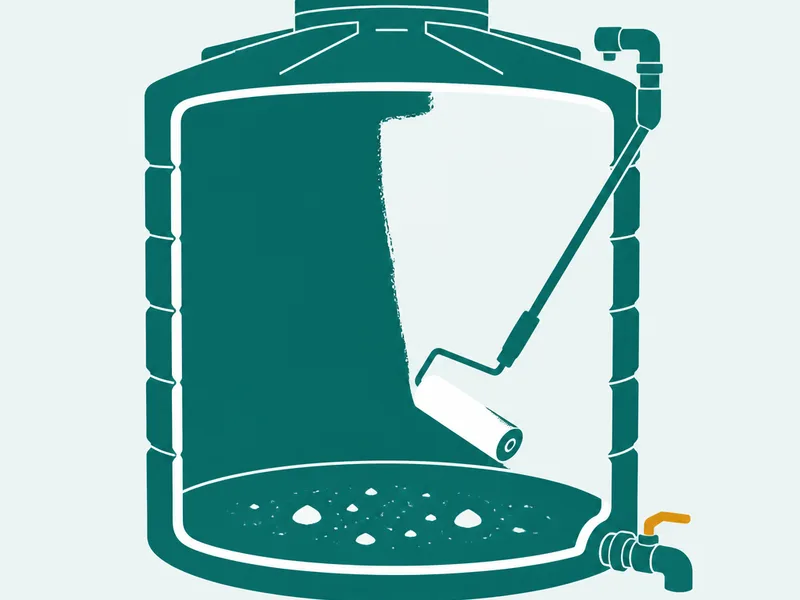
Keep drinking water free of debris
Exposed concrete or fibreglass in an unsealed tank can release particles into the supply. The waterproofing coat creates a smooth, inert surface that does not react with the stored water.
-
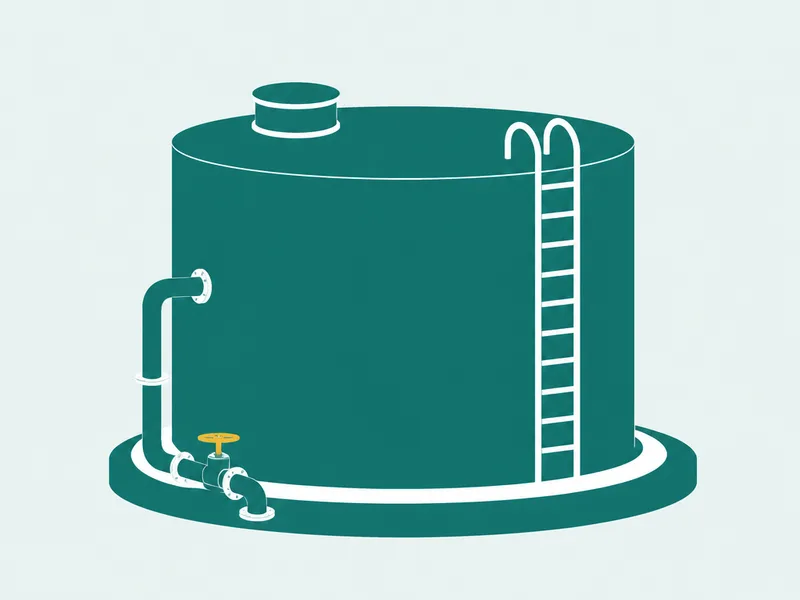
Reduce maintenance over time
A sealed interior does not absorb scale or organic residue the way bare concrete does, so future cleanings are faster and the tank stays serviceable for longer between major works.
Everything included in the service
Each job follows the same sequence, from draining through to final inspection.
-
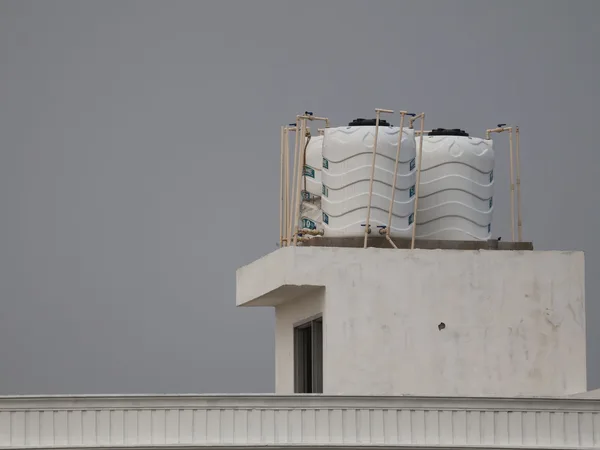
Tank drained of water
The tank is fully emptied before work begins, so the interior surfaces are accessible and dry enough to accept the coating.
-
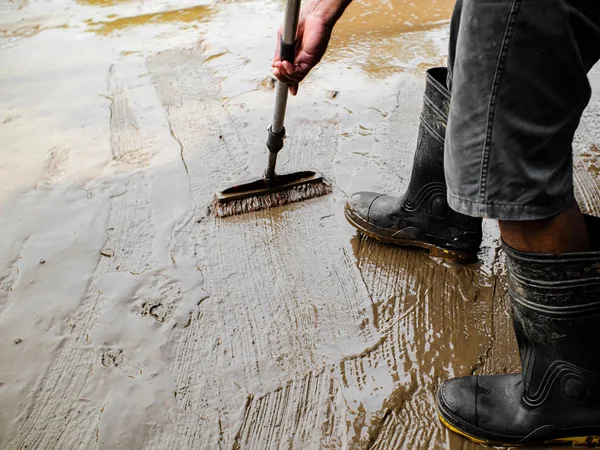
Walls scrubbed with brush
Walls and the base are scrubbed with a stiff brush to remove algae, scale, and loose material before coating begins.
-
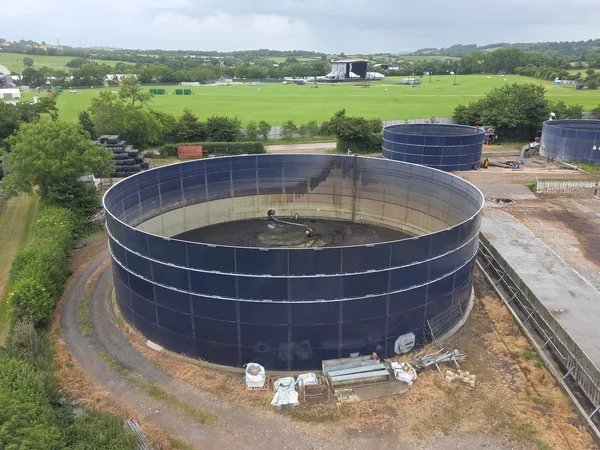
Surfaces dried before coating
Surfaces are allowed to dry completely, since a waterproofing coat will not bond to a wet or damp substrate.
-
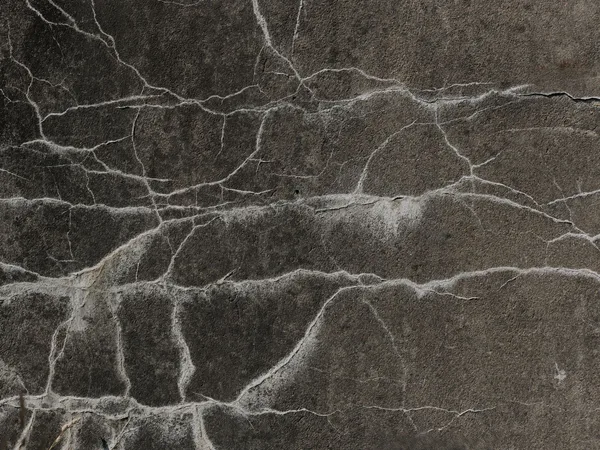
Cracks and gaps sealed
Any visible cracks, gaps, or hollow patches are filled with a compatible sealant before primer is applied.
-
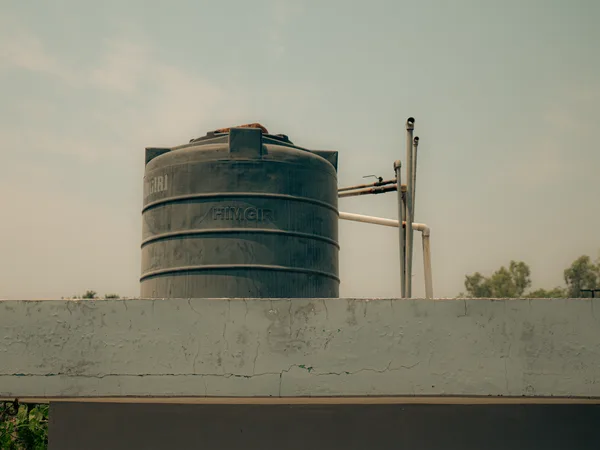
Primer coat brushed on
A primer coat is brushed onto the clean, dry interior to improve adhesion for the waterproofing layers that follow.
-

Waterproofing coat brushed on
The first waterproofing coat is brushed evenly over all interior surfaces, covering the primer and sealing the substrate throughout.
-
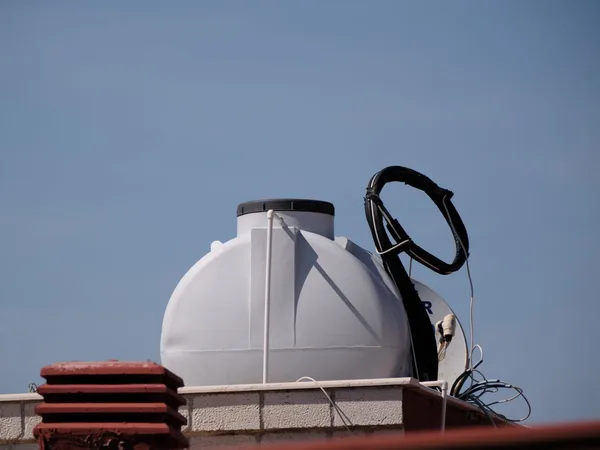
Second coat applied over first
A second coat is applied once the first has set, building the thickness needed for a durable, long-lasting lining.
-
Coating inspected before leaving
The cured coating is inspected for pinholes, thin patches, or missed edges before the job is signed off and handed over.
How the waterproofing job is carried out
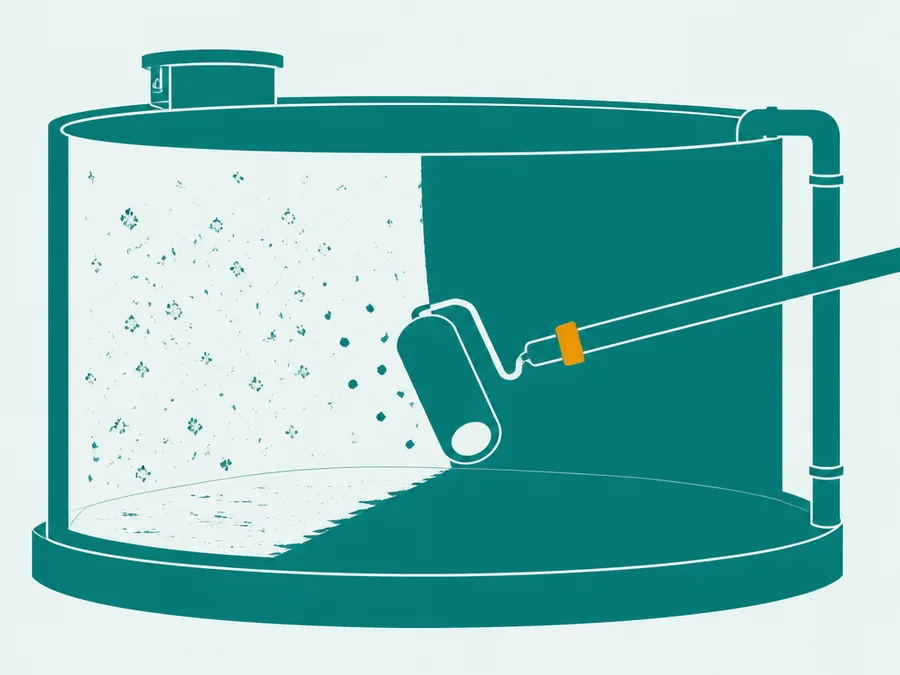
The work follows a fixed sequence so each stage supports the one after it.
-
Booking and access arrangement
The tank location and size are confirmed so the right materials and equipment arrive on the day. Access to the roof or tank enclosure is agreed in advance.
-
Draining, cleaning, and drying
The tank is drained and the interior is scrubbed to remove scale and organic build-up. Surfaces must be fully dry before coating begins, so drying time is built into the schedule.
-
Sealing and coating
Cracks are filled, primer is brushed on, and then two coats of waterproofing material are applied in sequence. Each coat is given time to set before the next goes on.
-
Inspection and handover
The finished coating is checked for coverage and adhesion. Once it passes inspection, the customer is shown the result and told when the tank can be refilled and returned to use.
What the tank looks like after
Once the coating cures, the interior is in a different condition to how it started.
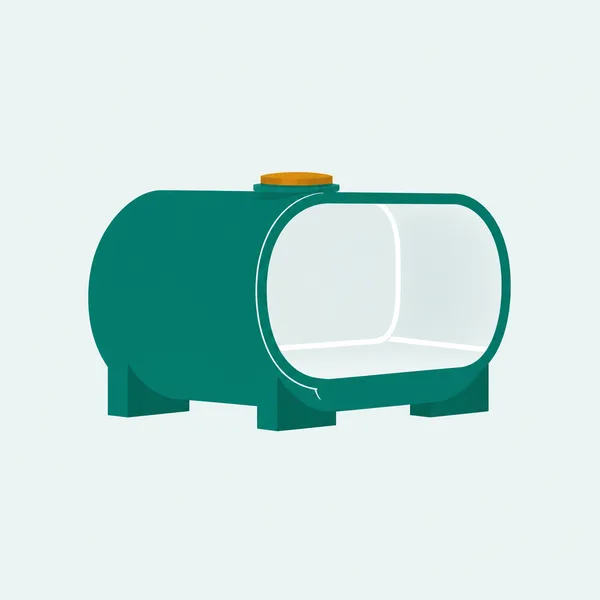
A sealed, smooth interior surface
The coating bonds to the concrete or fibreglass and fills any hairline cracks that were present. The surface is smooth and no longer porous.
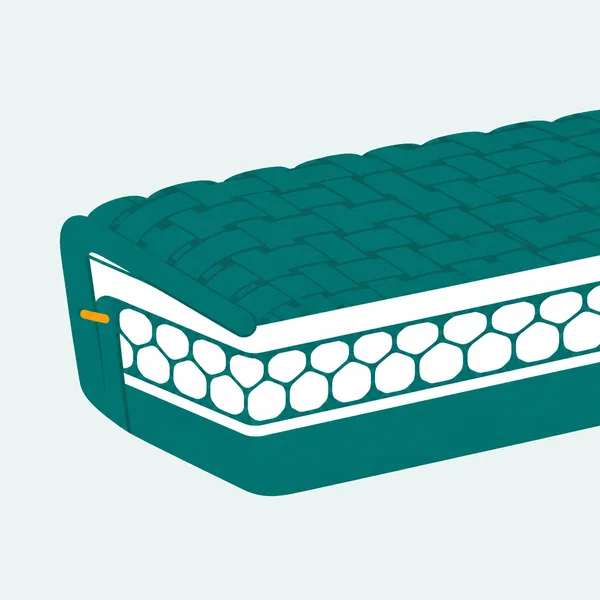
No active leaks or seeping
Gaps that were allowing water to seep through the walls or base are filled and covered. The structure holds water without loss.
Food-safe lining throughout
Every applied material is rated safe for contact with drinking water. Residues from application have fully cured before the tank is returned to service.
What our customers said
«شغلهم ما شاء الله، أنصح الجميع بالتعامل معهم. عن تجربة وثقة.»
«أفضل شركة تنظيف بالبخار. أسعارهم ممتازة وشغلهم مرة كويس.»
«خدمة ممتازة.»
«ممتازين.»
Districts we cover
This service is available across the city and surrounding areas, with teams that can reach residential and villa properties throughout the region.
Questions worth asking first
The duration depends on the tank size and how long the interior needs to dry before coating. Smaller household tanks are usually finished within a day, while larger rooftop units may need the work spread across two visits to allow proper curing between coats.
No special preparation is needed on the household's side. The team drains the tank on arrival. It helps to know the tank's location and whether the access hatch opens freely, but nothing needs to be done in advance.
Yes. The primer and waterproofing coats used are food-grade materials rated for contact with potable water. The team will confirm the specific products used on the day and advise on the curing period before the tank goes back into service.
The coating needs time to cure fully before contact with water. The exact period depends on the product used and the ambient temperature. The team gives a clear handover note with the minimum refill time before leaving the site.
Yes. The process is adapted to the substrate. Fibreglass tanks typically require less surface preparation than concrete, but the primer and coating steps are the same. Any existing stress cracks in fibreglass are sealed before the coating goes on.
A well-applied coating on a tank that is cleaned regularly and not physically damaged should last several years. Having the interior checked each time the tank is cleaned for sediment is the simplest way to catch any wear before it becomes a problem.
Other services you may need

Ready to waterproof your tank
Get in touch to arrange a visit and have the interior of your tank assessed, sealed, and coated.
Cleaning and disinfection guidance: Saudi Ministry of Health.