Water tank cleaning, scrubbing and drinking-water sterilisation
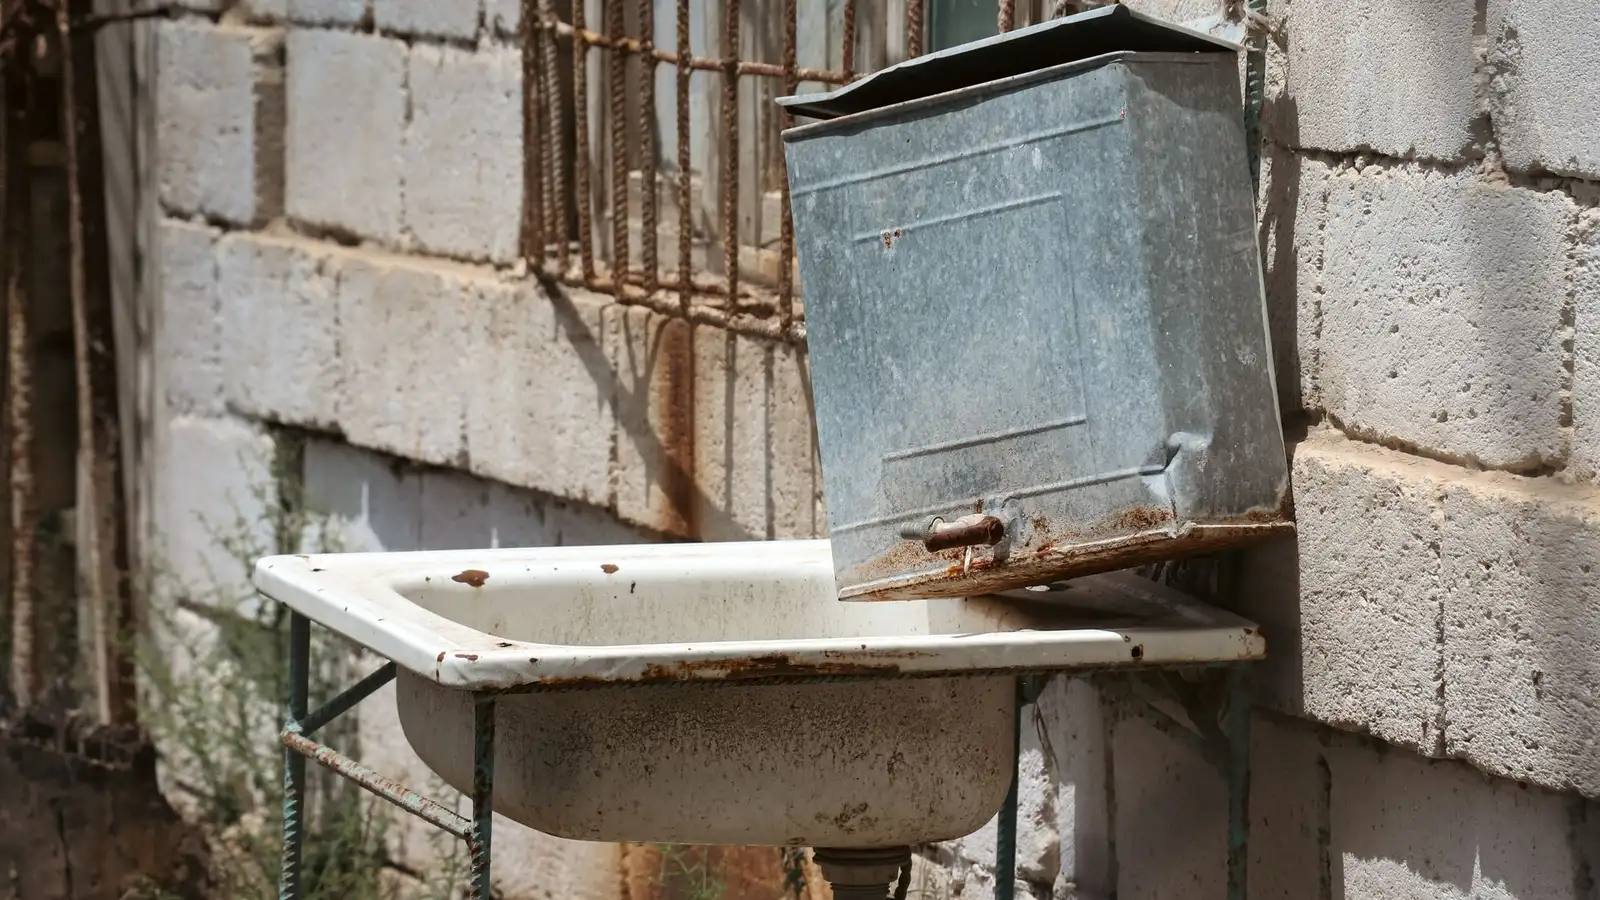
Rooftop water tanks accumulate sediment, mineral scale and microbial growth over time. This service covers the full process from draining and scrubbing the interior walls to applying a sterilising agent certified safe for drinking water.
- Full interior scrub-down
- Sediment and sludge removed
- Drinking-water safe sterilant
- Hatch sealed after service
Why a clean tank matters for your water supply
Rooftop tanks in Saudi housing sit exposed to heat and dust, and the interior walls gradually build up sediment, mineral scale and biofilm. A tank that looks full of clean water can still carry contamination that affects taste, odour and safety. Draining and scrubbing the walls reaches what a simple flush cannot, and sterilising after the scrub leaves the interior free of residual bacteria before the tank refills.
-
Seasonal maintenance before peak use
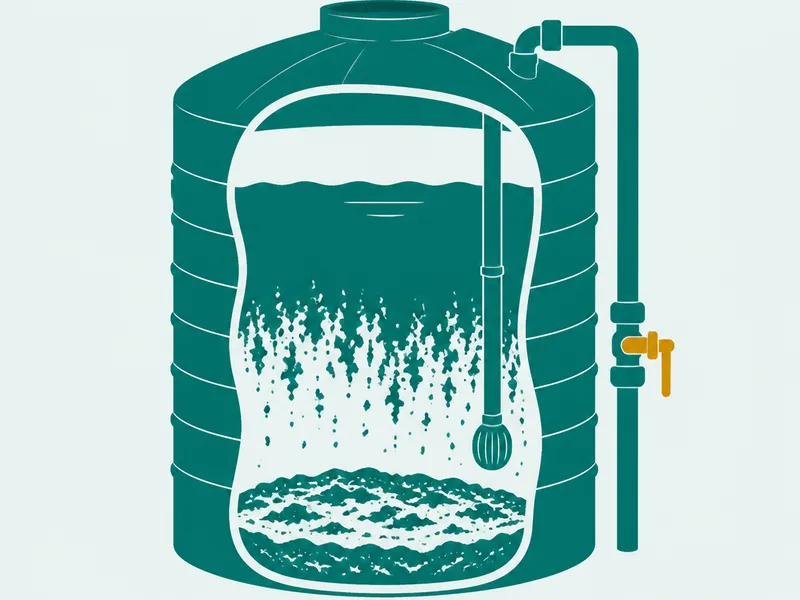
Tanks that sit without flushing accumulate scale and microbial growth. Cleaning before the hot season means your water supply starts the period in a known, clean condition.
-
After a long property vacancy
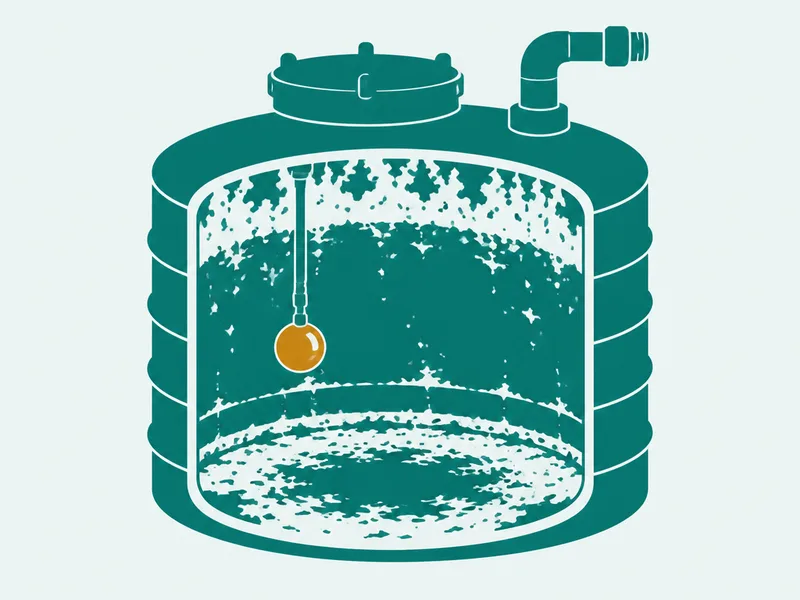
An empty tank holds stagnant water longer than one in daily use. Sediment and odour build up faster in a tank that refills infrequently, so cleaning before move-in is sensible.
-
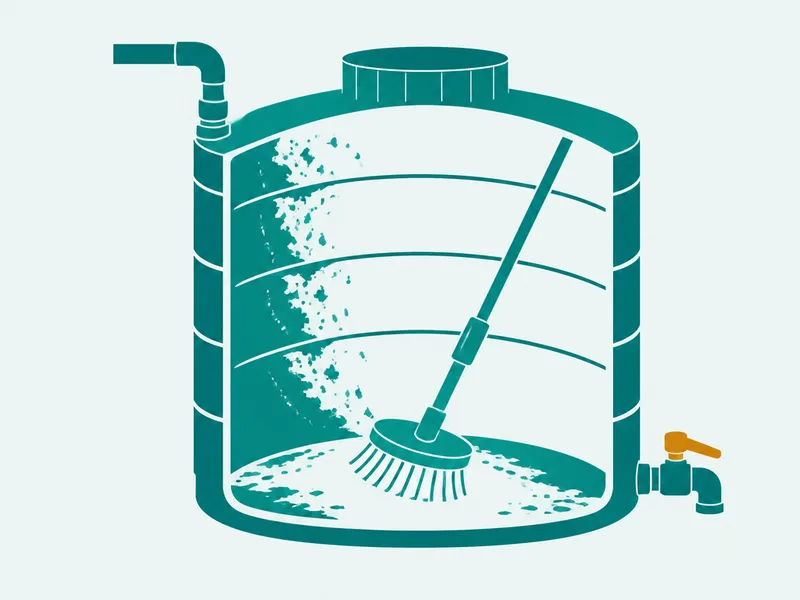
Visible discolouration or unusual taste
If water from the tap carries a smell or off-colour tint, the tank interior is the first place to check. Scrubbing the walls and floor removes the source rather than masking it.
-
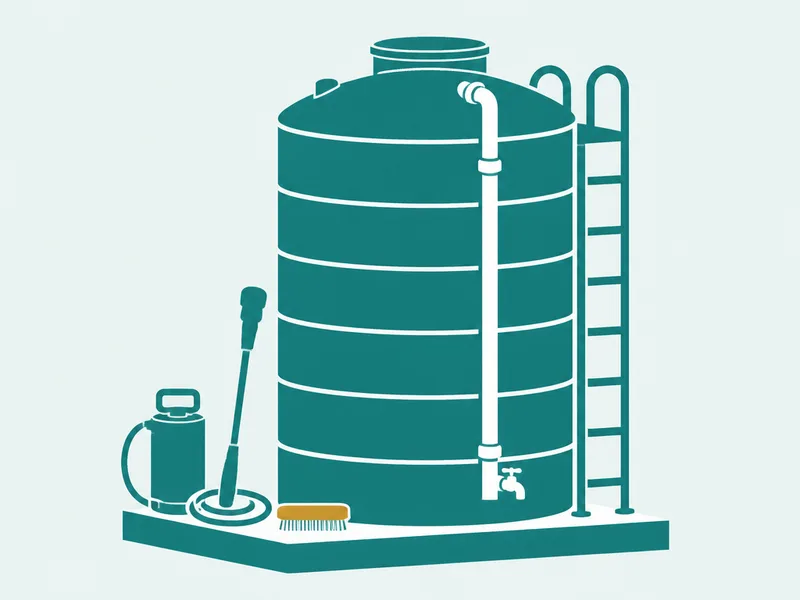
Landlord or building inspection requirements
Hygiene inspections for rental properties often include the water supply. A cleaned and sterilised tank with a sealed hatch gives a clear answer to the inspector's first question.
What is included in every tank clean
Each step is carried out in sequence, from opening the hatch to final sealing.
-
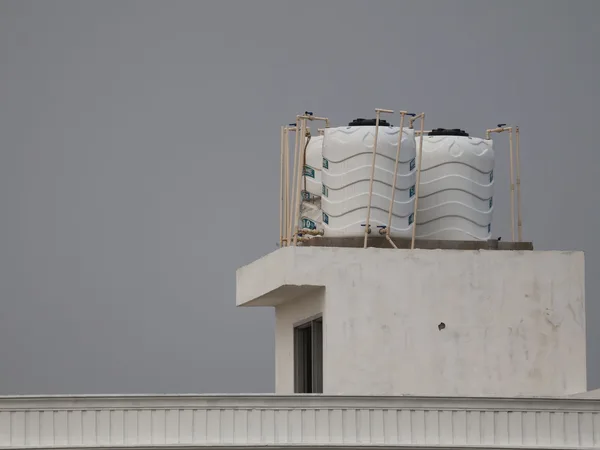
Opening and inspecting tank hatch
The hatch cover is removed and the interior is inspected for sediment depth, wall staining and any visible damage to the tank lining.
-
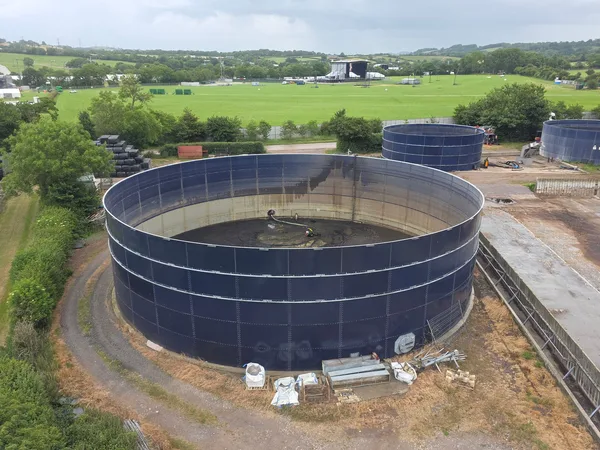
Draining water from the tank
All remaining water is drained from the tank until the floor is fully exposed and accessible for scrubbing.
-
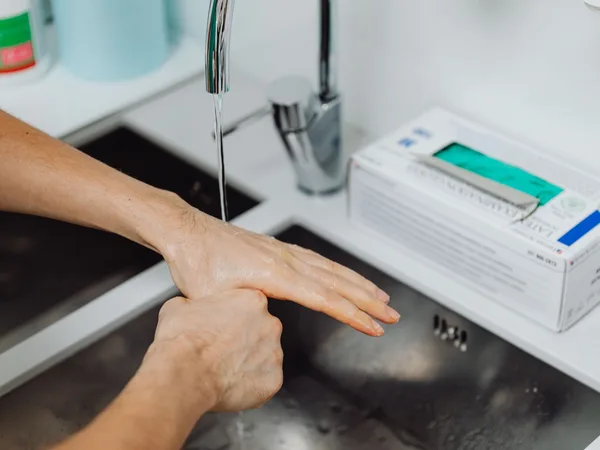
Scrubbing interior walls and floor
Interior walls and the tank floor are scrubbed to remove mineral scale, biofilm and any loose deposits adhering to the surface.
-
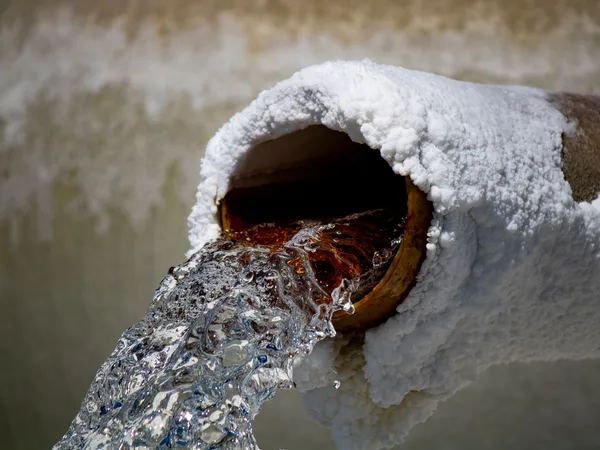
Removing accumulated sludge and sediment
Accumulated sludge and settled sediment are collected from the tank floor and removed from the site entirely.
-
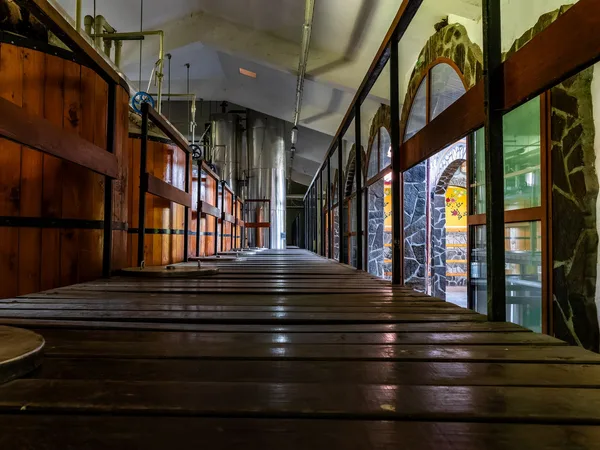
Rinsing interior walls and floor
The tank interior is rinsed with clean water to carry away loosened debris and scrubbing residue before the sterilisation stage.
-
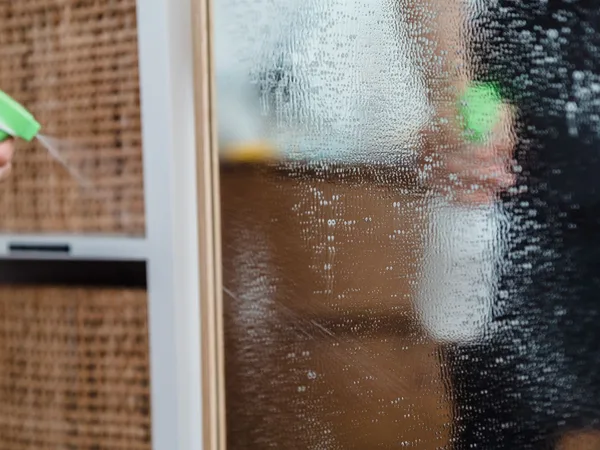
Spraying sterilising solution on surfaces
A sterilising solution approved for use in drinking-water systems is applied evenly across all interior surfaces and left for the required contact time.
-
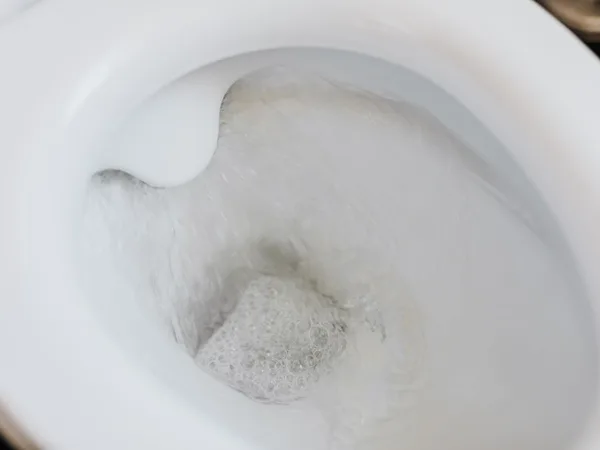
Flushing out sterilant residue
After the sterilant has had full contact time, the tank is flushed with clean water to remove all residue before the hatch is sealed.
-
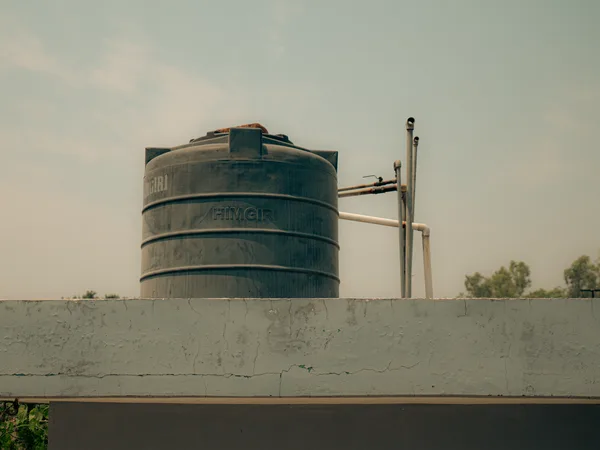
Sealing and securing the hatch
The hatch is refitted and secured to prevent dust, insects or rainwater from entering the tank until the next scheduled service.
How the cleaning process works, step by step
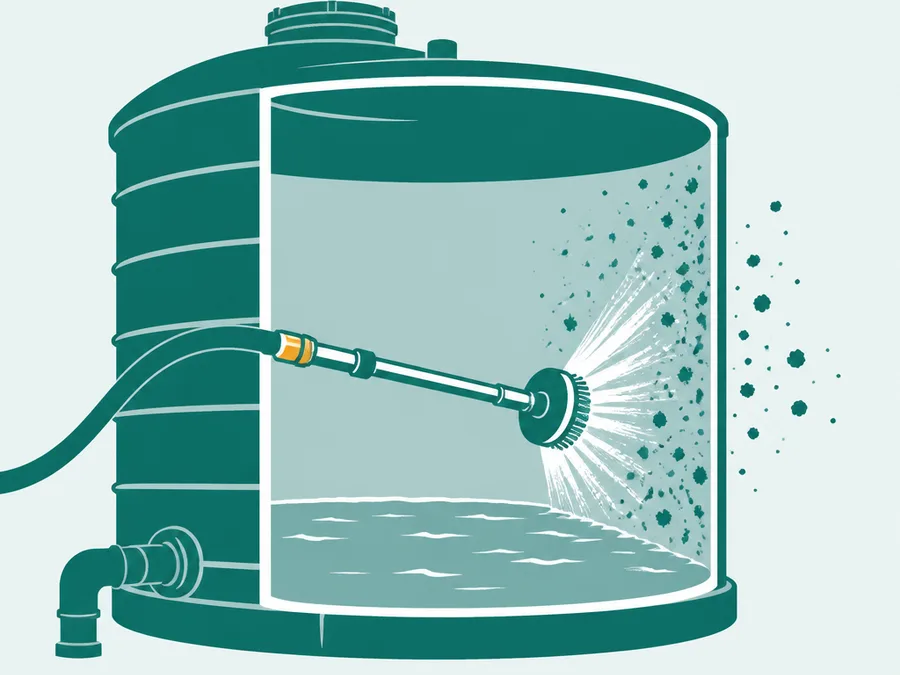
The job follows a fixed sequence so that no step recontaminates the one before it.
-
Survey and drain
The crew opens the hatch, assesses the interior condition and drains the tank completely. This shows the scale of sediment build-up before any scrubbing begins.
-
Scrub and remove sediment
Walls, corners and the floor are scrubbed until the lining is clean. Loosened sediment and sludge are collected and removed from the site before rinsing begins.
-
Rinse and sterilise
The interior is rinsed to carry away debris, then a drinking-water-safe sterilant is applied to all surfaces and left for the required contact time before flushing.
-
Final flush and seal
The sterilant is flushed out completely and the hatch is resealed and secured. The tank is ready to refill once the crew has confirmed the seal and left the site.
What you have when the work is done
After cleaning and sterilising, the tank is in a defined condition you can describe accurately.
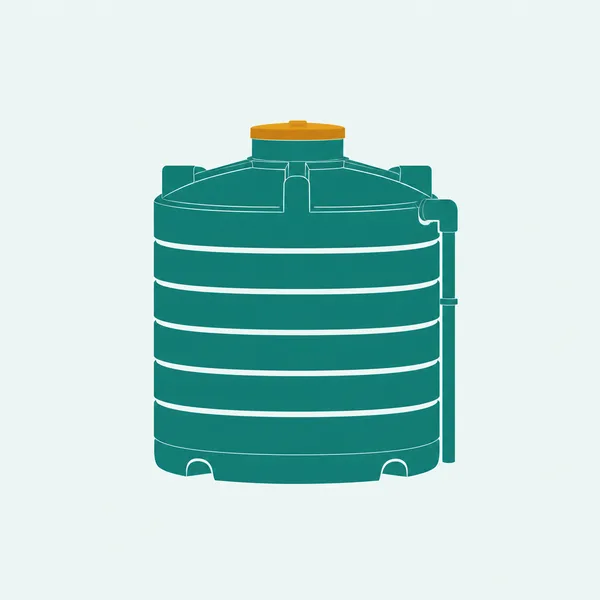
Interior walls free of scale
The scrubbing stage removes deposited minerals and biofilm from every reachable surface. Water that refills the tank meets walls that no longer shed contamination into the water column.

Sterilant applied and flushed out
A drinking-water-safe sterilising solution is applied to all interior surfaces and then fully flushed before the hatch is sealed. No residue remains in the tank before it refills.
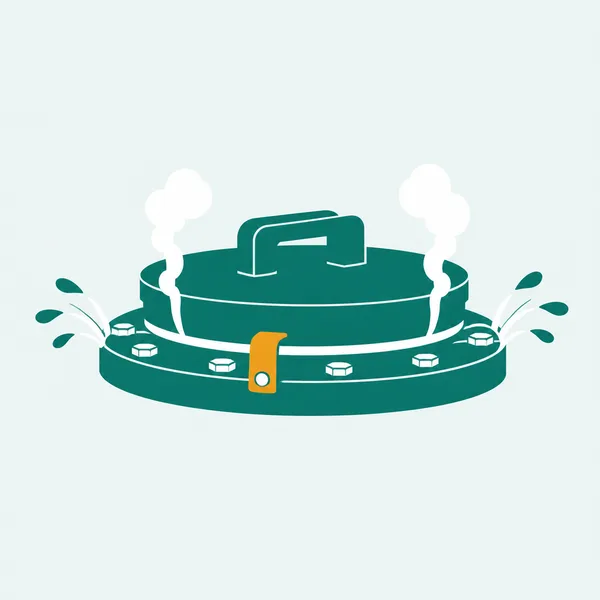
Hatch secured and sealed
The hatch is resealed after the final flush to prevent airborne dust and insects from entering the tank. The condition of the seal is confirmed before the crew leaves the site.
What our customers said
«شغلهم ما شاء الله، أنصح الجميع بالتعامل معهم. عن تجربة وثقة.»
«أفضل شركة تنظيف بالبخار. أسعارهم ممتازة وشغلهم مرة كويس.»
«خدمة ممتازة.»
«ممتازين.»
Districts we cover
Our water tank cleaning and sterilising teams reach the districts below and the areas around them, and the nearest one comes to you.
Questions worth asking first
Once a year is the most common schedule for a household tank in regular use. A tank that sits unused for months, or one showing discolouration or odour at the tap, should be cleaned before that interval is up.
Yes. The sterilising agent used is approved for contact with drinking-water systems. After the flushing stage, no residue remains in the tank, and the water that refills it is unaffected by the sterilant that was applied.
Not necessarily. Draining is included as a step in the process, so the tank does not need to be empty on arrival. If the tank is already low, it saves time, but it is not a requirement you need to arrange in advance.
The time depends on the tank size and the amount of sediment inside. Most household tanks are cleaned and sealed within a few hours. A very large tank or one with heavy build-up will take longer, and the crew can give a clearer estimate on site.
The tank can begin refilling as soon as the hatch is sealed and the crew has completed the final flush. There is no waiting period, because the sterilant is fully removed before the hatch is closed.
Make sure there is clear access to the rooftop and that the hatch can be reached safely. You do not need to drain or clear the tank yourself, the crew handles draining and all preparation as part of the service.
Other services you may need
Ready to book your tank clean?
Get in touch and a member of the team will confirm availability and arrange a visit at a time that works for your household.
Cleaning and disinfection guidance: Saudi Ministry of Health.